What's
New

Crispy Fried Shallots Oil
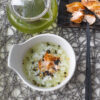
Crispy fried shallot oil (葱头油) is one of my favourite condiments which can be topped over almost any dish. I particularly love these fried shallots over plain porridge, fried rice or oyster sauce vegetables. I love them on its own as well – I can eat it as a snack. In my earlier attempts in deep frying the shallots, I burnt them, because I found out that even though deep frying shallots takes considerably longer than making garlic oil, the shallots go from light golden brown to golden brown really quickly. Hence you need to watch the flame very carefully especially during the second half of the cooking.
More Home-made Oil Recipes:
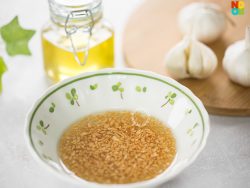
- Garlic Oil Recipe (pictured above)
- Fried Lard Oil Recipe
- Rendered Duck Fat Recipe
- Rendered Chicken Fat Recipe
Check out the step-by-step photo guide below for the various stages of cooking the shallots. Note that the actual timing will depend on the heat of your cooker. Generally, it takes about 12-15 minutes to cook the shallots.
STEP-BY-STEP PHOTOS
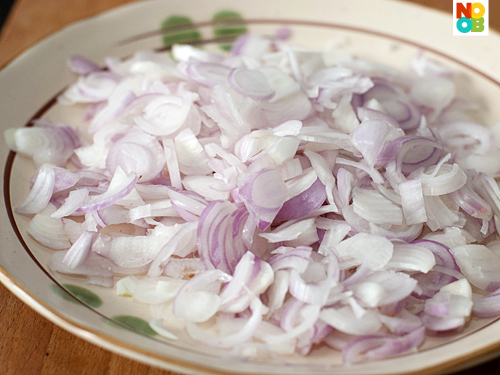
Peel shallots and if you rinse them before slicing, dab dry with a kitchen towel first. Slice thinly and uniformly to ensure even cooking.
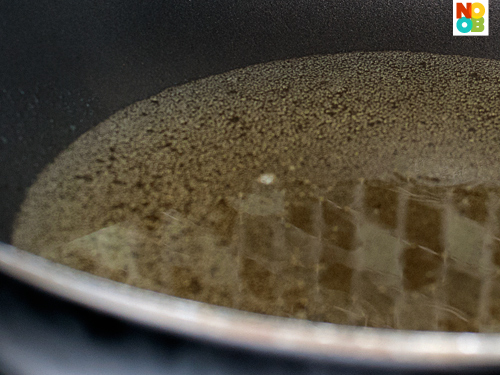
Heat oil to medium. As you can see in the photo above, there are tiny bubbles which indicate that the oil is starting to be heated. You can add a small piece of shallot to test the heat before adding all of them.
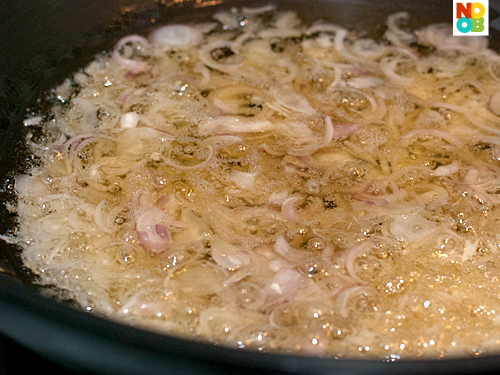
When oil is heated, add sliced shallots. This is look of the shallots after adding them to the the oil for 1 minute. They are dancing and bubbling mildly in the oil so I turn up the heat up very slightly.
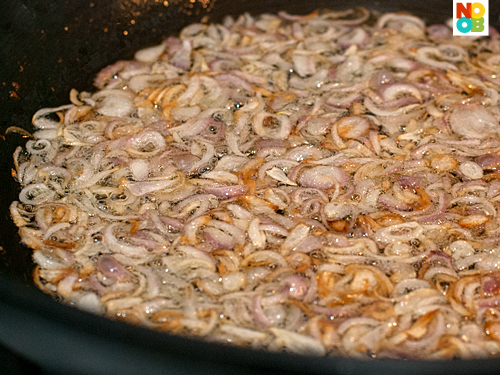
At the 10 minute mark of cooking, you can see parts of the shallots browning. At this point in time, you have to give the shallots your fullest attention (no multi-tasking) because they can become burnt quite quickly from this point on.
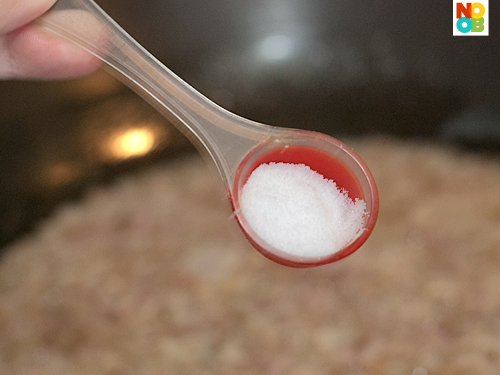
At this point in time (when the shallots start to brown), I add 1/2 tsp salt. The salt helps the shallots to be crispy and also adds flavour.
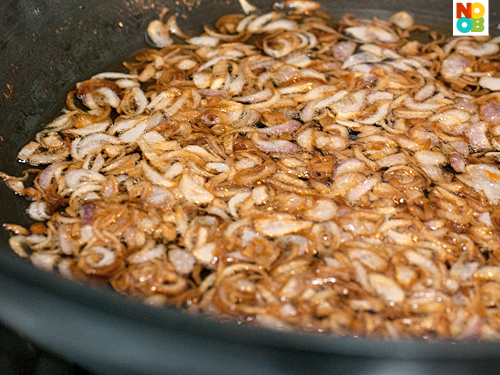
At this point in time, more than half the shallots have turned golden brown. This is where I turned off the stove – the shallots will continue for a few more minutes in the hot oil even with the stove heat off, until all the shallots turn a lovely golden brown.
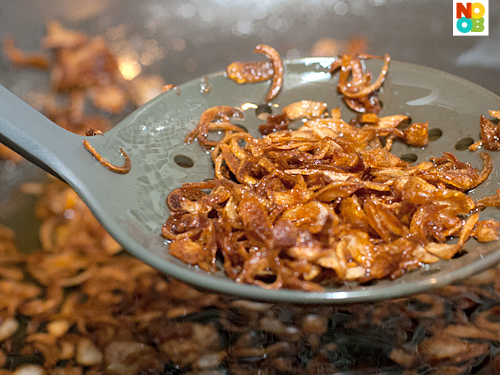
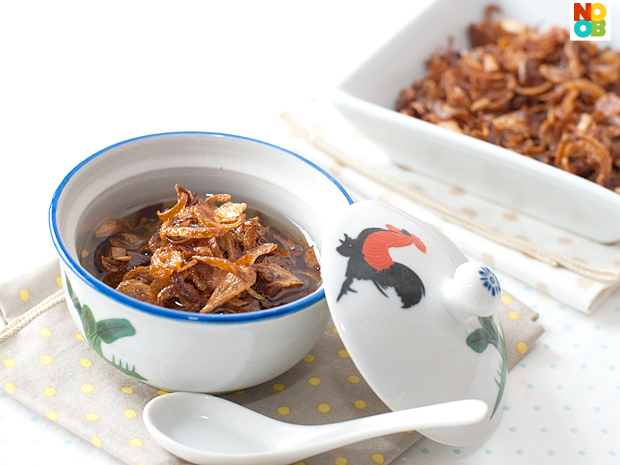
When the fried shallots are cooked, separate the shallots from the oil using a slotted ladle. Blot out excess oil by draining the shallots on kitchen paper towels or tempura paper. Store the fried shallots in an airtight container in the fridge.
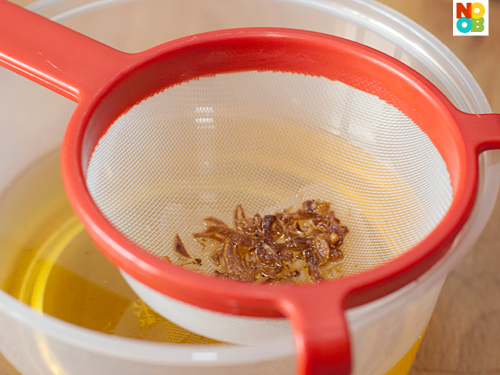
Run the shallot oil through a fine sieve to get particle-free oil. This oil has been infused with the wonderful aroma of shallots. Keep it covered with lid and use it in your cooking and stir-fries – it adds a great flavour to your cooking.


making your own is always the best…smells so much more fragrant! And as you said, the infused oil is great for cooking.
This is definitely my all time fav… I like to put in noodle too!
Love this but have never tried making myself. My husband’s maid used to make this a lot and give us bottles of it =)
you have to try making it! I’ll go great with anything :)
I love fried shallots…! I’ve never made them myself though. You have done a good job :)!
Fried shallots…I can almost smell it…SO tasty!
I always keep a little container of this fried shallots. It it handy when I want to make something quick like putting it in my noodles or blanch vegetables.
oh yes, one of my fave uses of fried shallots is to make oyster sauce vegetables with shallots oil!
I only prepare this once in a while. I prepare garlic oil more often.
I alternate between this and garlic oil. Garlic oil I find easier coz cook much faster :D
This is great with steamed chicken too! Yummy :)
I can tell that these would be great on top of many a savory dish. Thanks for this amazingly detailed photo tutorial :).
Great tutorial for fried shallots and oil. :)