What's
New


How to Melt Chocolate in the Microwave Oven
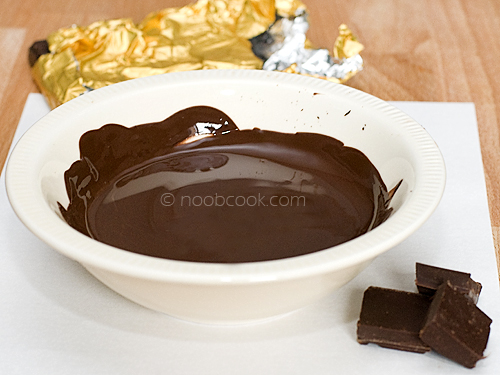
Dark chocolate melted using a microwave oven
In addition to being a noob cook, I am also a lazy one. I’m always looking for short cuts and quick fixes. Chocolate is a delicate ingredient so using direct heat to melt it using a stove is a no-no, because it becomes burnt, lumpy or grainy if overheated. The most common ways of melting chocolate are to use a hot water bath or double boiler to melt it gently.
But my fave method of all is to use the microwave oven. Microwaving chocolate can be a delicate process but if it’s done right, it is the most convenient method (to me) because it does not involve much equipment or fancy gadget (just a bowl, a spoon and a microwave oven) so the clean up is minimal.
Unlike melting chocolate via a water bath or double boiler, you can’t really see the progress of the melting when it is inside the microwave, so there is a higher risk of burning it. Therefore the golden rule you need to observe is to go slow – i.e. microwave on lower heat and shorter intervals – so that you can keep checking the progress and not burn the chocolate.
Every microwave oven is different so it will take some patience to understand the time and temperature you need to melt chocolate in your microwave oven.
If this is your first time melting chocolate via the microwave method, here are some tips:
– If your microwave oven comes with a control for the heat (low, medium, high), always go for the lowest setting first. Go for short blocks of microwaving (10-20 seconds interval) so that you can check the progress more regularly and the chocolate will not be burnt.
– With each heating interval, you have to stir the chocolate with a spoon or plastic spatula to check out the actual extent to which the chocolate has melted (it’s not obvious based on appearances alone because chocolate gets heated inside-out, and retains its shape when heated), and to allow for more even microwaving. Stirring is essential!
– Use a more affordable and modest brand of chocolate bar such as Cadbury. There will be heart aches if you burnt that gourmet Michel Cluizel 72% dark chocolate bar on your first attempt!
Here’s a step-by-step guide on how I melt chocolate using my microwave oven.
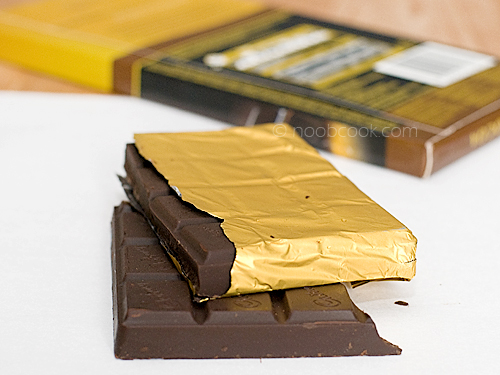
^ Step 1: Measure and break off the amount of chocolate needed based on the recipe you are using.
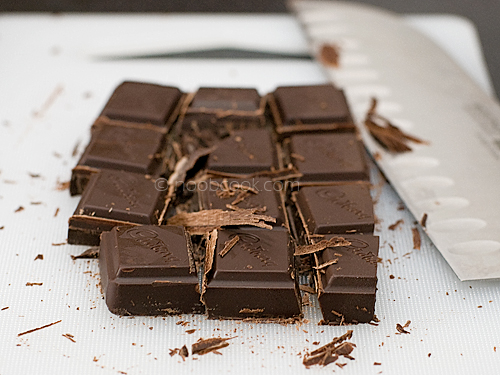
^ Step 2: Cut the chocolate to smaller pieces using a knife as shown, so that they will melt faster and more evenly.
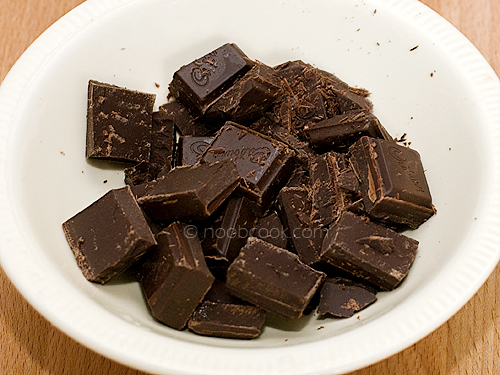
^ Step 3: Place cut chocolate pieces in a microwave-safe bowl. Note: if you’re melting chocolate chips, the time needed will be significantly shorter so microwave in even shorter intervals than the timings shown in this guide.
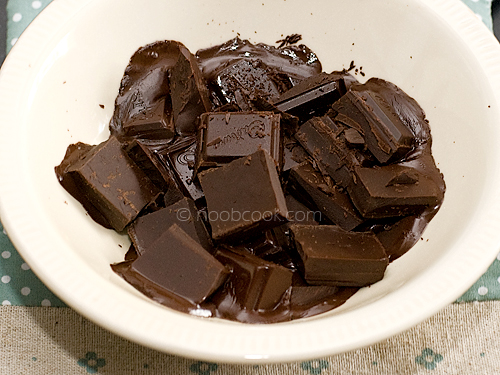
^ Step 4: Microwave over low heat for roughly 40 seconds. For the first round, I actually microwave it for slightly over a minute over high heat, but every microwave oven is different so start slow and check the progress regularly; you can always put it back to the microwave oven for a few seconds longer if it’s not melted. If you’re greedy and microwave it for a longer time, you risk burning the chocolate and you won’t be able to salvage a burnt chocolate. After the first round of microwave, this is how my bowl of chocolate looks like (see above photo). It doesn’t look very melted, but in reality …

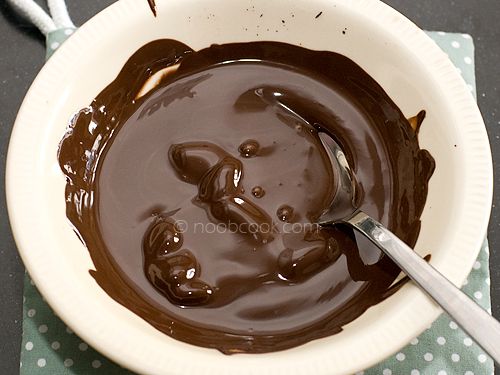
^ Step 5: … if you stir it around with a spoon or spatula, you will realise that the chocolate has in fact melted substantially! Remove the spoon (no silverware inside microwave oven) and return the bowl to the microwave oven. From here on, you need to microwave the chocolate in shorter intervals of say 10-20 seconds.
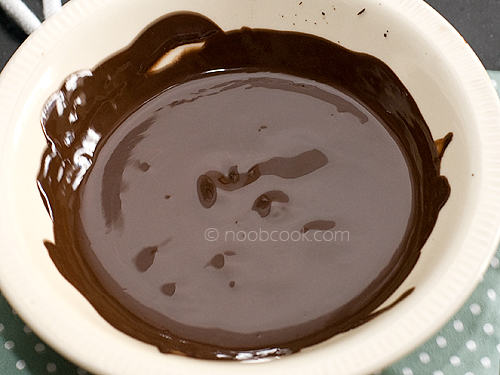
^ Step 6: What my bowl of chocolate looks like after microwaving for a further 20 seconds. After stirring, remove the spoon and return to the microwave oven. It’s almost done by now.
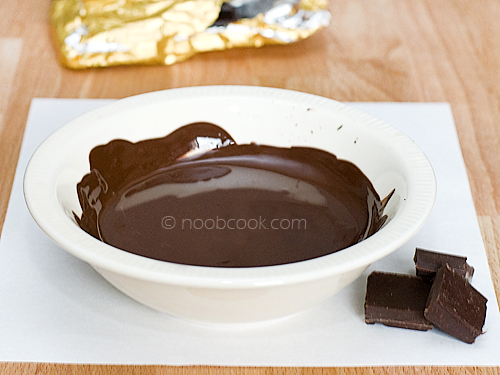
^ Step 7: I microwaved it for another 10 seconds, stirred the chocolate and it has fully melted … it’s velvety smooth and shiny. You can now use it as a dip, or in your recipe.
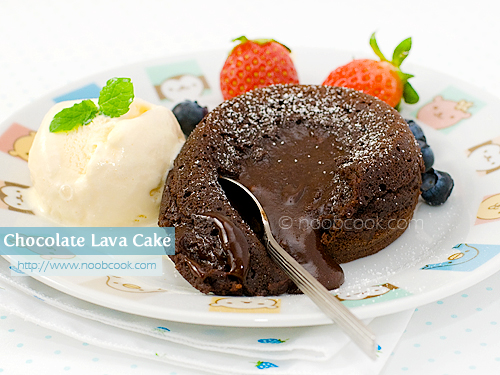
I used my melted chocolate to make this yummy chocolate lava cake.
Useful tip from commenter ren (thank you very much for sharing!):
“Make sure to use a dry, non porous tool to stir the chocolate. I use real chocolate for candy making and discovered the hard way that any water added to melted chocolate will cause it to seize, making it clumpy and useless for dipping (but still edible, so don’t worry about that). But that means ANY WATER, like the water that is in, say, a wooden spoon after it’s been washed. Stick with dry metal utensils and you’ll be fine.”
Related article:
– How to Melt Butter Using a Microwave Oven (Step by Step Photos)


Pingback: How to Melt Butter Using a Microwave Oven (Step by Step Photos) | NoobCook.com
Pingback: Chocolate Lava Cake | NoobCook.com
this is useful, thnx. i’ve had lava cake before and it was amazing, but yours looked better.☺
Nice work! ouod. But now I really feel lazy. =3= You actually experiment on these types of things. I just look it up on the internet.
Wow thanks!!!! I LOVE cooking but washing sucks lol this helps a lot !! Messed up first time second time was a charm! I made hunger games mocking jay pin molds and pored the chocolate into them let it harden they were amazing!! Big hit with my mates!
i so needed that thanks sooooooooooo much
Great advice! Thank you for your post.
I used this to make my very first batch of chocolate covered strawberries, thanks for posting!!
Thanks!
It worked! At the end I added some chocolate milk to make the chocolate more liquid.
ZB
Pingback: How to make chocolate lava cake | 2NB healthy lifestyle
Pingback: Orange Souffle, 3 Ways | the whimsy turtle