What's
New


How to Cook Porridge/Congee (Stove-top Method)
Cooking porridge is one of the easiest things ever. Even easier than cooking rice to me, because there is hardly any risk of using the wrong amount of water – you can easily add more water during cooking if the water dries out, or you if add too much water, the cooked porridge will soak it up after some time (or you can also ladle away a top layer of water). So forgive me for posting such a simple tutorial. But easy as this may be, I was completely clueless when I wanted to cook porridge for the first time. So this little step-by-step pictorial tutorial is for those who have not cooked porridge before :)
Step-by-Step Photos
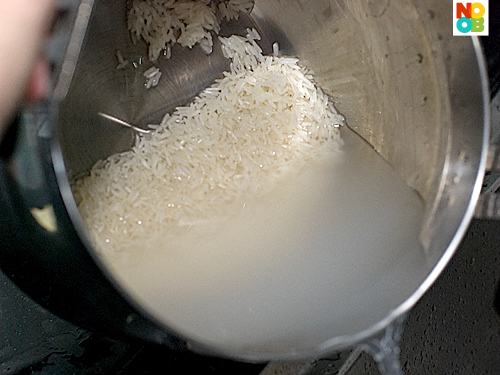
Wash rice grains, use your hand to give the water a few swirls and then discard water. You may want to repeat this more than once – some people like to rinse until the water is completely clear, while others like to rinse once while the water is still a bit opaque.
Tip: the amount of rice used for cooking porridge will be slightly less than the amount for cooking rice, at least for me. For example, I usually cook 1 cup of rice for 2-3 persons, but when I’m cooking porridge, I cook 3/4 cup of rice instead.
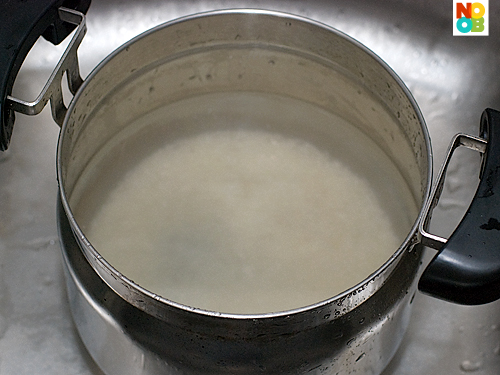
Fill pot halfway with water. It is not really necessary to measure the water because it is very forgiving. It is better to add too much water than too little, as the cooked porridge will soak up the excess liquid. Anytime the water runs dry (you will hear ‘popping’ sounds), just add hot water to keep the porridge watery and simmering.
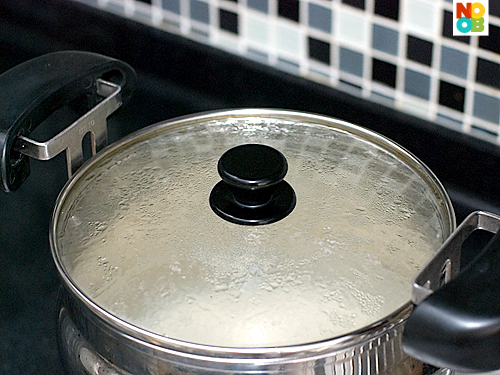
Cover with lid and bring the pot to a boil.
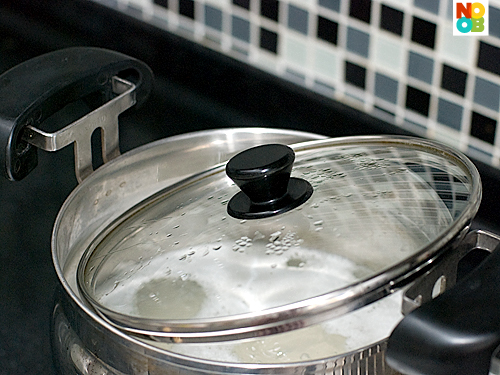
When the pot comes to a boil, reduce heat to a low simmer. Leave the lid partially opened. This step is VERY important. Otherwise, the water may bubble out of the lid and create a terrible mess and also pose a potential hazard.
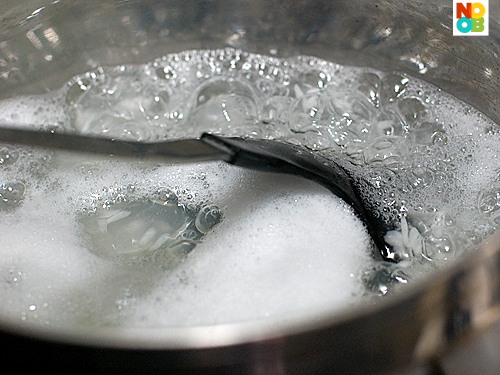
Every 10 minutes or so, use a soup ladle to gently scrap the bottom of the pan to loosen and dislodge the rice grains that stick to the bottom.
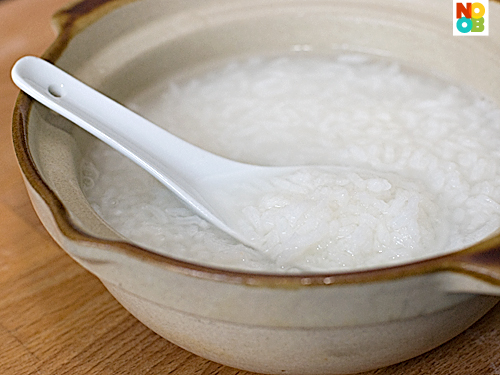
Cook the porridge according to the consistency you like. If you still want to see the rice grain, it usually takes about 20 minutes.
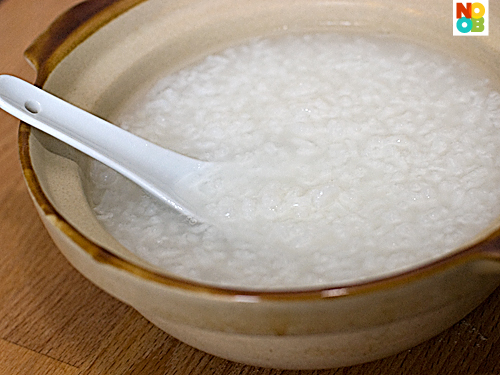
Another 10 minutes and the grains separates. This is the consistency I like. You can simmer even longer for a more watery, finer and more congee-like consistency.


Hey it may be a simple tutorial – but an essential one nonetheless! Great photos.
For us who are Asians, making rice porridge is easy as pie :) I have to teach my hubby how to make one.
Anyway, I love using broken rice instead.
broken rice for congee? :)
I just happen to chance upon your website looking for a cold tofu recipe to see if i was doing it right. Love the photos and recipes on your site! for porridge i usually add a little bit of sesame oil for flavour. :)
simple and easy porridge but indeed is a helpful tutorial, I love seeing those pix :)
This tutorial is such a great idea =) I’m sure many of your readers who are noobie cooks appreciate your gentle guidance!
Great tutorial for the newbie!
Usually I cook porridge in rice cooker. I feel that it’s easier. :)
Great tutorial! Although I am too convenience to use my electric porridge cooker now hehehe … :)
woah, electric porridge cooker, sounds like a handy gadget in the kitchen, lucky you :)
Thanks for your guidance which has details even for the simplest recipes – really useful for those who are starting to learn cooking from scratch. For me, I usually ‘pinch’ littles bits of ingredients that will be used to cook for dinner on the same day to add into the porridge. For example, the tail end of a fish with little slivers of meat, and the fish head (that will be discarded anyway for those who do not eat these parts).
that’s a great idea – no waste and added natural flavouring for the plain porridge :)
i so needed this …….. thanks! :)
Great tutorial!